
How to Make Beaded Earrings at Home: A Step-by-Step Beginner's Guide


Making your own beaded earrings is a simple way to create jewellery that suits your style. With a few beads, headpins and earring hooks, you can make a pair of earrings at home without needing an extensive collection of tools.
In this guide, you'll learn the basics of making gemstone drop earrings using a technique called wire wrapping. The finished earrings have closed, wrapped loops, which create a neat and secure connection between the beads and the earring hooks.
If you're new to jewellery making, I've also included a video tutorial to help you see how the technique works in practice.
What You'll Need to Make Beaded Earrings
Before you start, gather your materials and tools. You don't need a large collection of supplies for this project, but choosing the right components will make the process easier.
Affiliate disclosure: This article contains affiliate links. If you purchase through these links, I may earn a commission at no additional cost to you.
Materials
Matching beads: Round gemstone beads are a good choice for simple drop earrings. Beads around 6–8mm are a useful starting point, although you can choose a different size to suit your design.
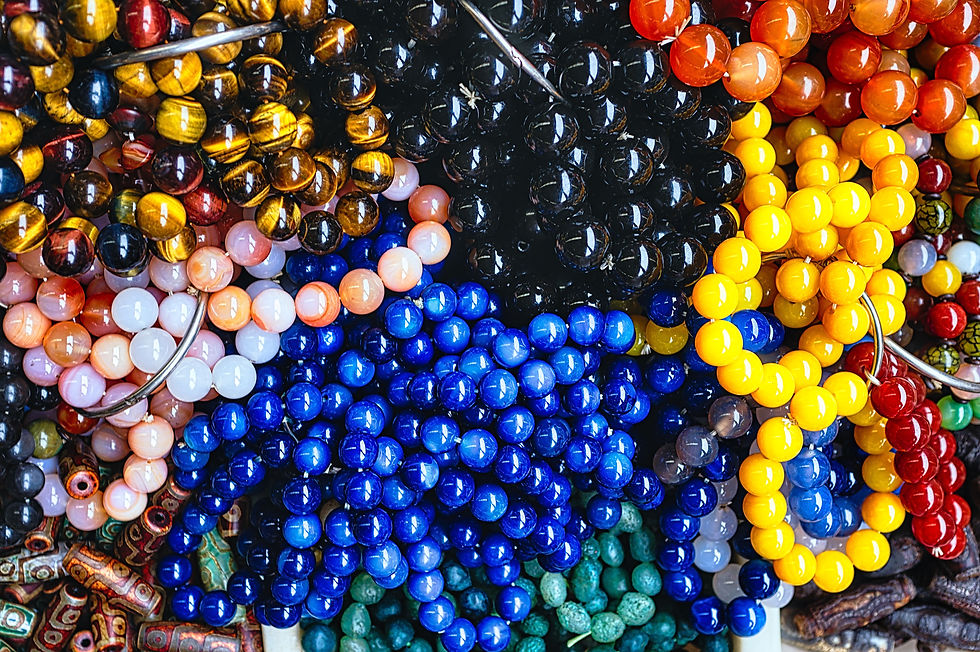
You can use amethyst, rose quartz, green aventurine, howlite or another bead that appeals to you. For your first pair, choose beads with similar sizes and weights so the finished earrings look balanced.
For crafters in the UK, we'd love you to consider our gemstone beads for your jewellery making needs, but for readers elsewhere, there are plenty of options available out there.

Two headpins: These are thin metal pins with a flat or decorative end that holds the bead in place. The remaining wire is used to create the wrapped loop.
Headpins are available in different materials and finishes, which can affect their appearance, durability and price. Basic metal headpins are an affordable choice for practising, while silver-plated headpins have a thin layer of silver over a base metal, giving them a brighter, more decorative finish.
For a longer-lasting option, you could choose sterling silver or stainless steel headpins, depending on your design and budget. Check the product description carefully, as silver-plated components are not the same as solid silver, and plating can wear away over time.
If you're a beginner and just looking for some affordable headpins and other materials to get started and practice with, I'd recommend picking up an all-in-one kit like the below, that contains headpins, hooks and other useful findings.

Two earring hooks (ear wires): These attach the finished beads to your ears. Choose a style and material suitable for your needs.
Optional spacer beads: Small metal or faceted spacer beads can add detail between the gemstone and the wrapped loop.

Tools
You'll need three basic jewellery-making tools:
Round-nose pliers: Used to shape the wire into a loop.
Chain-nose pliers: Used to grip the wire and help wrap it neatly.
Flush wire cutters: Used to trim excess wire close to the finished wrap.
A bead mat is also useful for stopping small beads from rolling away while you work.

Watch the Beaded Earrings Tutorial
The video below, How To Make Beaded Earrings With The Bead Place, features Abbi Berta demonstrating how to make beaded earrings with beads, headpins and ear wires.
Pay particular attention to how she uses the pliers to form and close a wrapped loop. This is the main technique that gives the earrings their neat, finished appearance.
You can follow the written guide below alongside the video. If you're new to wire wrapping, it may help to pause the demonstration as you work through each stage.
Step 1: Choose Your Beads
Start by choosing beads for your earrings. Round gemstone beads work particularly well for a simple drop design, but you can experiment with different colours, finishes and shapes as your skills develop.
For a balanced pair, look for beads that are similar in size, colour and weight. Beads around 6–8mm are a versatile option for everyday earrings, while smaller beads create a more delicate look.
Check that the holes are large enough for your chosen headpins to pass through comfortably. The headpin must fit through the bead without forcing it.
If you want to add a decorative detail, you could include a small spacer bead. Just remember to account for the extra length when planning your design.

Step 2: Thread the Beads onto the Headpins
Take one headpin and slide a bead onto it until it rests against the pin's flat or decorative end.
Repeat with the second headpin and bead.
Check that both earrings have the same arrangement. If you're using spacer beads, make sure they're positioned consistently on each earring.
Choosing the Right Headpins
Headpins are available in different lengths, gauges and materials.
Length: Longer headpins give you more wire to work with when creating a wrapped loop. Very short pins can be difficult for beginners to wrap securely.
Gauge: Gauge describes wire thickness. A higher gauge number generally means thinner wire. Choose a thickness that fits through your beads and works with your chosen design.
Material and quality: Headpins are available in different metals and finishes. Choose a material that suits the look you want and consider any metal sensitivities when selecting components for earrings.
For your first project, it's worth practising with a few spare headpins before making your final pair.

Step 3: Prepare the Wire for Wrapping
Once the beads are on the headpins, you'll need enough wire above each bead to form a loop and wrap the remaining wire around the stem.
The exact amount depends on the bead size, headpin length and the style of loop you're making. Leave enough wire to shape the loop and complete several neat wraps without the finished earring becoming unnecessarily long.
Use your flush wire cutters to trim the wire if needed. Take care when cutting: small pieces of wire can fly away, so keep the cutting end pointed away from your face and eyes.
If you're unsure how much wire to leave, follow the demonstration in the video and practise on a spare headpin first.
Step 4: Form a Wrapped Loop
This is the key technique in the project.
Use your round-nose pliers to bend the wire above the bead and begin forming a loop. The pliers help you create a smooth curve rather than a sharp bend.

Once the loop has taken shape, use your chain-nose pliers to help guide and wrap the remaining wire around the stem beneath the loop. Work carefully so the wraps sit close together and look tidy.
A wrapped loop is different from a simple open loop. The wire is wrapped around itself to create a closed connection, rather than leaving a gap that could open during wear.

The exact hand movements can take a little practice, so watch this part of the video closely and pause it when necessary. Try practising with spare wire until you can make a loop you're happy with.
Repeat the process for the second earring, aiming for a similar loop size and number of wraps.
Step 5: Attach the Earring Hooks
Once the wrapped loops are complete, attach the earring hooks.
If your wrapped loops have been closed correctly, the hook can be connected using its existing opening or attachment point, depending on the design of the ear wire. Use your pliers carefully to open and close any connecting loop that needs adjusting.
When opening a metal loop, move the ends sideways apart rather than pulling them directly away from each other. This helps preserve the loop's shape.

Close the connection securely after attaching the hook. Check that there are no visible gaps where the components join.
Repeat for the second earring, making sure both hooks face the same direction when the earrings hang.
Step 6: Check Your Finished Earrings
Before wearing your earrings, check both carefully.
Make sure the beads are held securely on the headpins.
Check that the wrapped loops are closed and the wire wraps are neat.
Ensure the earring hooks are attached securely.
Compare the two earrings to see whether their lengths and proportions match.
Check that there are no sharp wire ends sticking out from the wraps.
If anything looks loose or unfinished, correct it before wearing the earrings.
Congratulations, you've made your own pair of beaded drop earrings!
Ideas for Customising Your Beaded Earrings
Once you've mastered the basic technique, there are plenty of ways to create different looks using the same skills.
Experiment with Gemstone Colours
Choose two beads in the same colour for a coordinated look, or experiment with contrasting colours for something more distinctive.
Amethyst and green aventurine create an interesting combination, while rose quartz and howlite offer a softer palette. You could also choose beads that complement your favourite outfit.

Add Spacer Beads
A small spacer bead can add a little sparkle or introduce a different metallic finish. Place it above or below the gemstone, depending on your design, and check that the headpin is long enough for the extra component.
Try Different Bead Sizes and Shapes
Once you're comfortable making wrapped loops, experiment with smaller beads for delicate earrings or larger beads for a more noticeable drop.
Always consider the weight of the finished earrings. Larger or heavier beads may not be comfortable for everyone to wear, even when the design is technically sound.

Explore Different Headpin Finishes
Headpins and earring hooks are available in different colours and finishes. Matching the metals creates a coordinated look, while contrasting finishes can make the gemstone stand out.
Choose compatible components and check their suitability for jewellery that will be worn against the skin.
Common Mistakes When Making Beaded Earrings
Even a simple jewellery-making project can take a little practice. These are a few common issues to watch for.
Cutting the wire too short: You need enough wire to create the loop and wrap it securely. If you cut too close to the bead, there may not be enough material left to finish the loop neatly.
Choosing headpins that don't fit the beads: Check the hole size before starting. The pin should pass through the bead without force.
Making uneven loops: Try to use a consistent technique for both earrings. Practising on spare wire can help you develop more even loops.
Leaving loose wire ends: After wrapping, check that the end of the wire sits neatly against the stem and doesn't leave a sharp point exposed.
Using beads that are too heavy: Consider comfort as well as appearance when choosing beads for earrings.
Frequently Asked Questions
What is the easiest type of beaded earring to make?
Simple drop earrings made with one bead, a headpin and an earring hook are a good starting point. Learning to make a neat wrapped loop gives you a useful foundation for many other jewellery designs.
What size beads should I use for beaded earrings?
Beads around 6–8mm are a versatile starting point for drop earrings. Smaller beads create a more delicate design, while larger beads make a stronger visual statement. Consider the weight as well as the size.
Can I make beaded earrings without jewellery-making pliers?
Pliers make it much easier to shape the wire accurately and create secure wrapped loops. For this particular technique, round-nose and chain-nose pliers, together with wire cutters, are recommended.
What is the difference between a headpin and an eyepin?
A headpin has a flat or decorative stop at one end to keep the bead in place. An eyepin has a loop at one end and is often used to connect beads together in linked jewellery designs.
Can I use gemstone beads to make earrings?
Yes. Gemstone beads are popular for earrings because they come in a wide range of colours and patterns. Choose beads that are similar in size and weight, and check that the finished earrings will be comfortable to wear.
Can I sell the earrings I make?
You can sell handmade earrings, but make sure your finished pieces are well made and accurately described. Use suitable materials, check the security of every connection and consider the requirements that apply to selling jewellery in your market.
Ready to Try Another Jewellery-Making Project?
Making earrings is a useful way to practise working with beads and basic jewellery findings. Once you're comfortable with the technique, you can experiment with different gemstone combinations and use your remaining beads in other projects.
If you're looking for more inspiration, explore these guides:
10 Bead Combinations That Always Look Good — ideas for pairing colours and beads in your own designs.
How Many Beads Do You Need for a Bracelet? — a practical guide to estimating bead quantities before starting your next project.
With a few basic supplies and a little practice, you can create personalised jewellery in colours and styles you enjoy wearing.


Comments